How do I embed events in WordPress?
Install this wordpress plugin on your wordpress website and display all your events on your website.
Download NowDownload Odd Circles Events Embed Plugin for your wordpress website here.
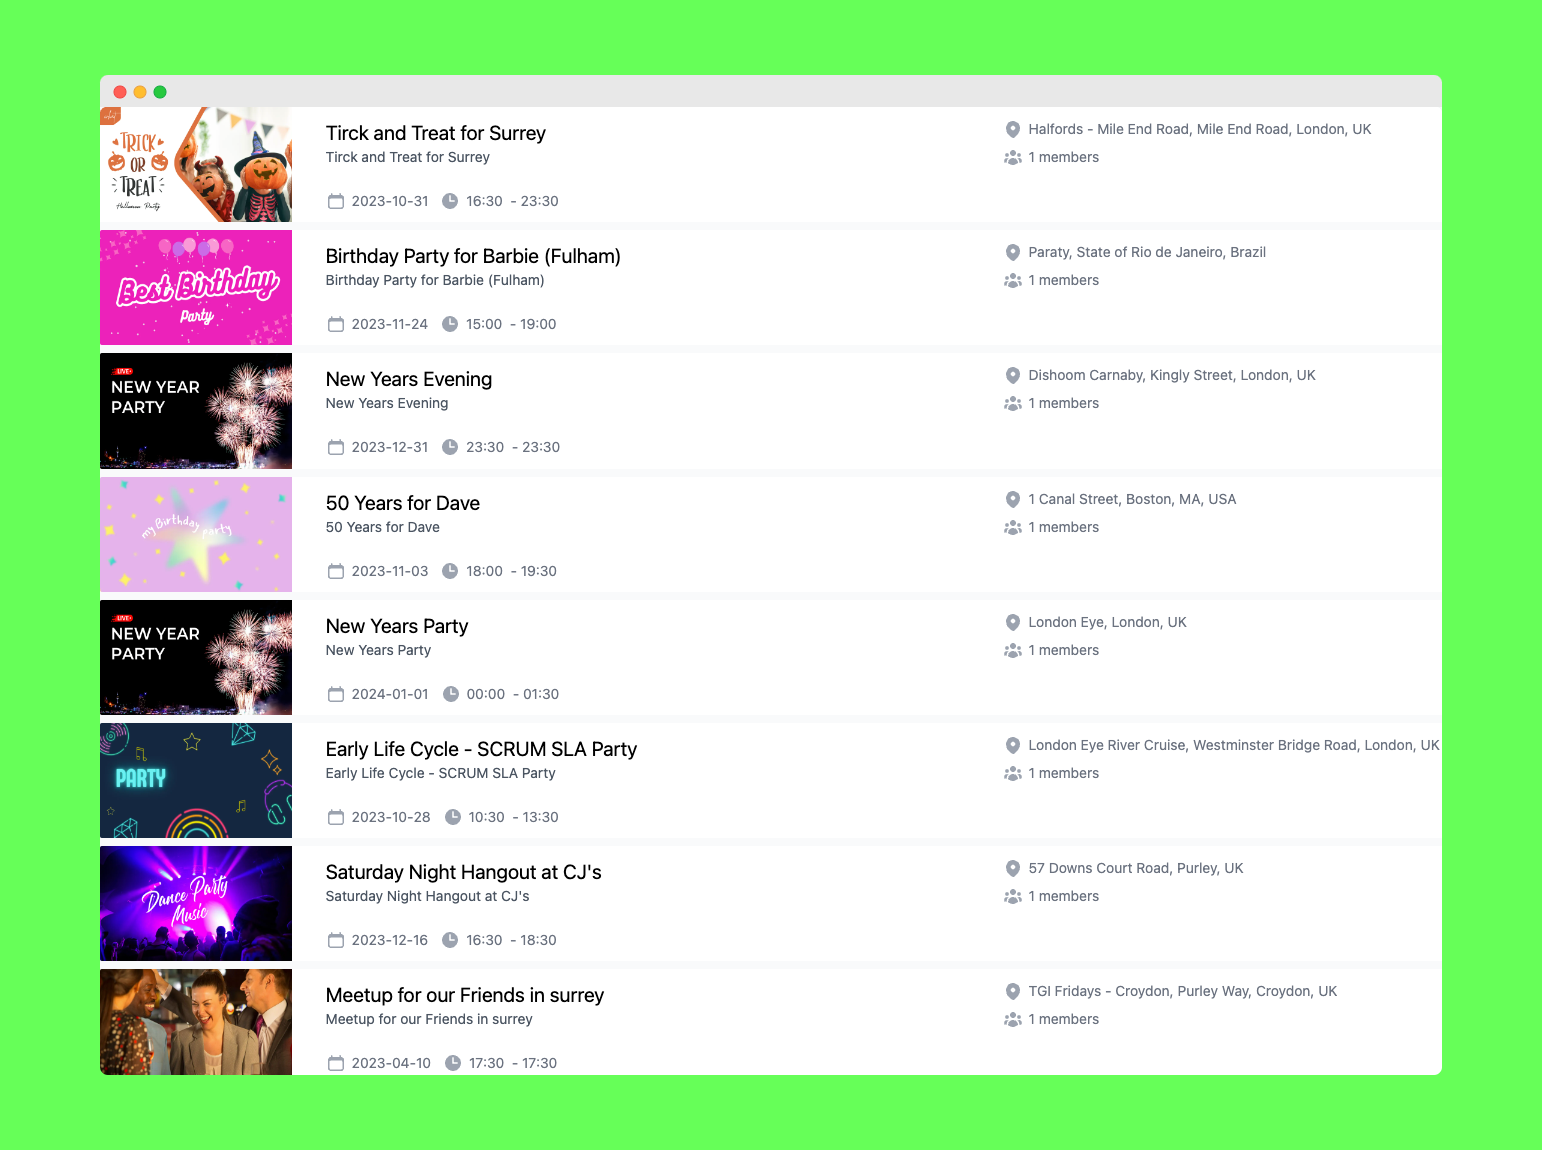
Below is just a demo of how events will look on your wordpress website:
Step-by-Step Guide to Installing and Displaying Events with Odd Circles WordPress Plugin
Events play a crucial role in engaging your website visitors and keeping them informed about upcoming activities. If you're running a WordPress website and want to display your events in a user-friendly way, the Odd Circles WordPress plugin is a fantastic choice. In this step-by-step guide, we'll walk you through the process of installing the Odd Circles plugin and displaying your events on your website.
Step 1: Log into Your WordPress Dashboard
Begin by logging into your WordPress dashboard. To do this, type your website URL followed by "/wp-admin" (e.g., www.yourwebsite.com/wp-admin). Enter your username and password to access the dashboard.
Step 2: Navigate to the 'Plugins' Section
Once you're inside the dashboard, locate the left-hand menu. Hover over the "Plugins" option, and then click on "Add New." This will take you to the WordPress plugin installation page.
Step 3: Search for 'Odd Circles' Plugin
In the search bar at the top right corner of the plugin installation page, type "Odd Circles." Hit the "Enter" key or click the search icon. WordPress will then display the Odd Circles plugin among the search results.
Step 4: Install the Odd Circles Plugin
Find the Odd Circles plugin in the search results and click on the "Install Now" button. WordPress will automatically download and install the plugin for you.
Step 5: Activate the Plugin
Once the installation is complete, the "Install Now" button will change to "Activate." Click on it to activate the Odd Circles plugin.
Step 6: Configure the Plugin Settings
After activation, you'll be redirected to the plugins page. Find the Odd Circles plugin and click on "Settings." This will take you to the plugin's settings page, where you can configure how your events will be displayed.
Step 7: Add Events
On your Odd Circles dashboard, you can add and manage your events. Click on "Add Event" to start creating an event. Fill in all the necessary details, such as the event name, date, time, location, description, and any other relevant information.
Step 8: Display Events on Your Website
To display your events on your website, you'll need to add a shortcode. Create a new page or post where you want to display the events, and then insert the Odd Circles shortcode provided in the plugin settings. Save the page or post.
Step 9: Preview Your Events
To make sure your events are displayed correctly, preview the page or post you just created. You should see a list of your events, beautifully formatted according to your chosen settings.
Step 10: Publish Your Page
If you're satisfied with the way your events are displayed, go ahead and publish the page or post. Your website visitors can now access all your events in one place.